
Iraqi IP VPS
Having a Virtual Private Server (VPS) with a specific Iraqi IP address can significantly impact your online experience. Whether you’re a business owner expanding your market reach or an individual seeking secure and localized internet access, setting up an Iraqi IP VPS through linkdata.com is a straightforward process.
Why Choose an Iraqi IP?
Before we delve into the setup process, let’s understand why having an Iraqi IP is important. An Iraqi IP address allows you to access localized content, enhance your online security, and conduct business operations securely within the country. Now, let’s get started on how to set up your VPS with an Iraqi IP using linkdata.com.
Here’s a step-by-step guide to help you navigate the setup with ease.
Step 1: Visit linkdata.com
- Go to linkdata.com: Start by visiting linkdata.com, the reliable platform offering various VPS options, including those with Iraqi IP addresses.
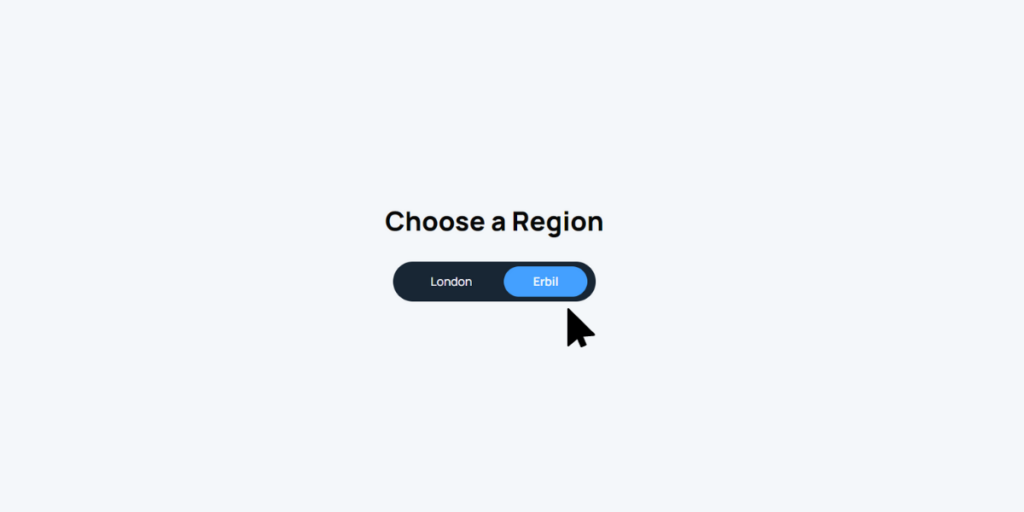
Step 2: Choose Your Iraqi IP VPS Package and Specifications
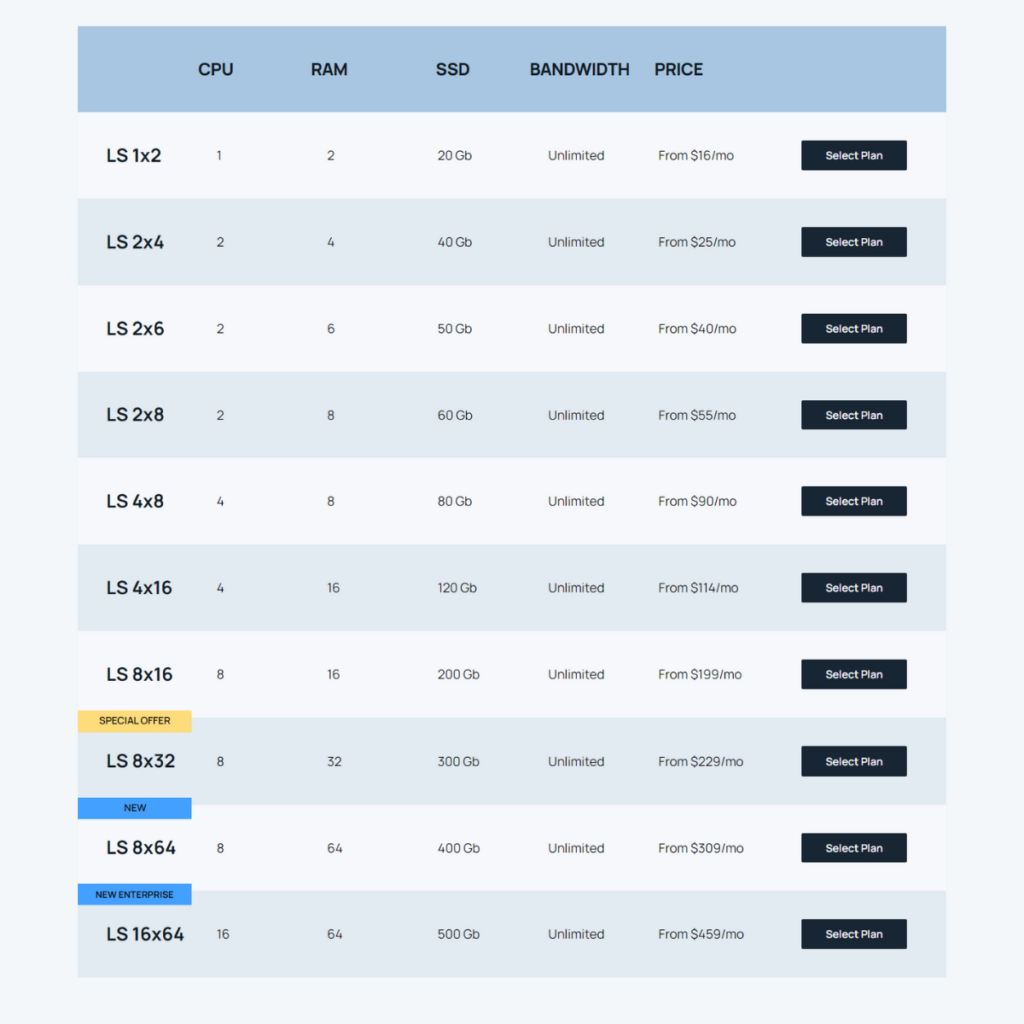
- Select your VPS package: Explore the available VPS packages and choose one that aligns with your specific needs and budget requirements.
- Customize your specifications: Tailor your VPS to your preferences by selecting the desired specifications, including CPU power, RAM capacity, and storage space. Verify that your chosen package supports the operating system (OS) of your choice.
Step 3: Select Your Operating System
- Choose your OS: Select your preferred operating system for the VPS. Common options include Ubuntu, CentOS, and Debian, all of which are compatible with linkdata.com’s services.
Step 4: Create Your SSH Key
- Generate an SSH key pair: Ensure secure access to your VPS by generating an SSH key pair. Linux and macOS users can generate keys using the terminal, while Windows users can use tools like PuTTYgen.
- Copy your public key: After generating the SSH key pair, copy the public key. You will need to paste it during the setup process for secure authentication.
Step 5: Check and Add Any Necessary Extras
- Review available add-ons: Assess if you require any additional features or add-ons, such as DDoS protection or automated backups. These extras can enhance the security and functionality of your Iraqi IP VPS.
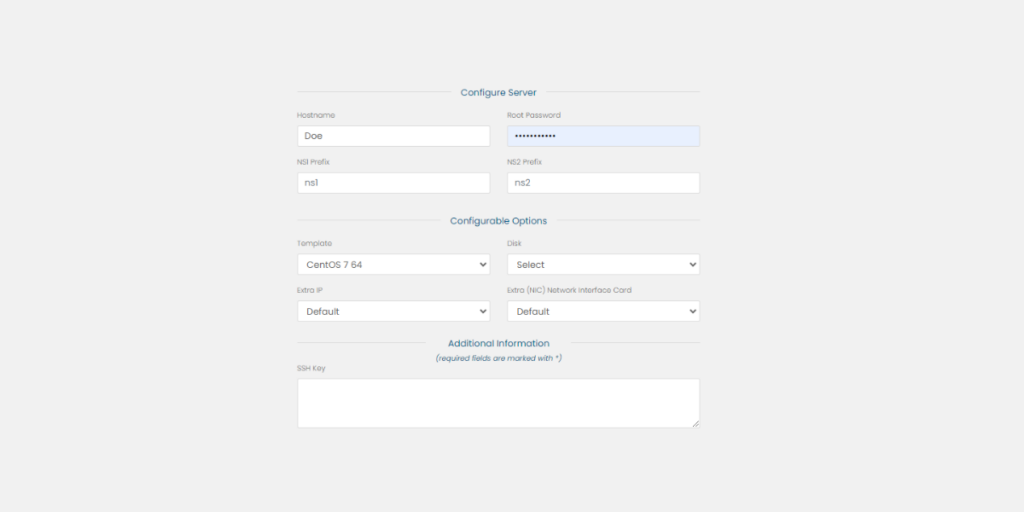
Step 6: Complete the Setup Process
- Provide required information: Fill in your details and the necessary information for the setup, including your SSH public key. This key ensures secure and authenticated access to your VPS.
- Verify and confirm your order: Double-check all the information you’ve provided, including your chosen specifications and any selected add-ons. Confirm your order to initiate the setup process.
Step 7: Access and Configure Your Iraqi IP VPS
- Access your VPS: Upon completion of the setup, you’ll receive access credentials. Utilize your SSH private key to securely access your Iraqi IP VPS.
- Configure your VPS: Set up your VPS according to your specific requirements. This may include installing essential software, configuring security settings, and optimizing performance for your intended use.
By following these steps, you can effortlessly establish your Iraqi IP VPS using linkdata.com. This localized and secure VPS empowers you to explore the online world confidently, whether you’re running a business or simply enjoying internet activities tailored to the Iraqi digital landscape. Enjoy your enhanced online experience with your Iraqi IP VPS!